How to prepare your converted van for winter
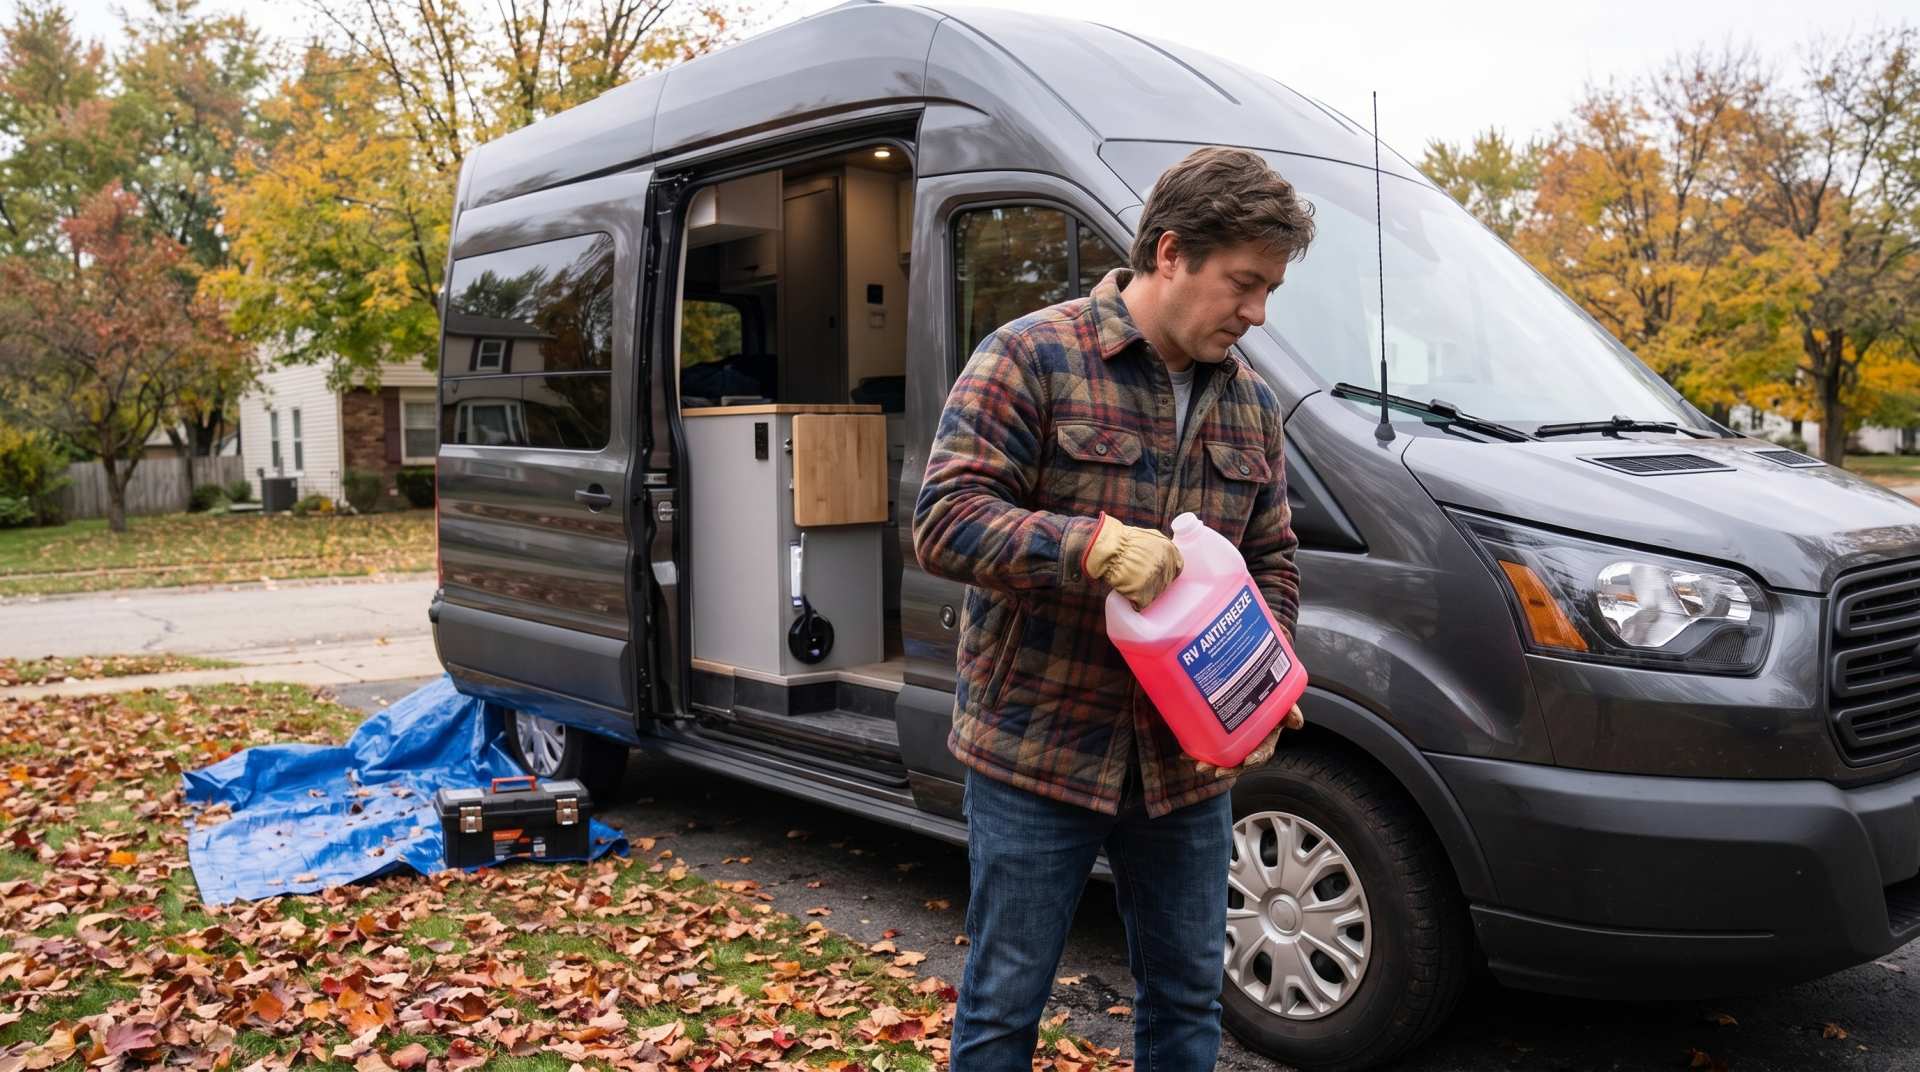


There are no second chances when it comes to winter storage. A single night at −8 °C with a liter of water forgotten in a pipe elbow, and you’ll discover the damage in the spring — as soon as the pump turns on and sprays the inside of your RV. Freezing water expands by about 9% in volume, and it won't ask permission from the plastic fitting surrounding it.
The good news: winterizing an RV is neither complicated nor time-consuming. Expect two to three hours the first time, and an hour and a half afterwards. What gets expensive isn't the job — it's the step you skip.
Here is the complete step-by-step guide tailored to our winters.
2>When to Winterize: The Real RuleDon't rely on the calendar; rely on the forecast. The rule: winterize before the first night announced below 0 °C. A single night at −3 °C is enough to crack a fitting or burst the body of a water pump.
Specifically in Quebec:
- Abitibi, Saguenay–Lac-Saint-Jean, Côte-Nord, Gaspésie: often as early as mid-September.
- Estrie, Mauricie, Laurentians, Bas-Saint-Laurent: late September to early October.
- Montreal, Montérégie, Outaouais: generally the first half of October.
If you plan to take one last trip in October, do a partial winterization beforehand: completely drain the water system and travel with water bottles. It's less romantic than a hot shower, but it beats a cracked water heater.
2>What You Need- RV Antifreeze (pink, propylene glycol-based) — never engine antifreeze, which is toxic. Count on about 8 to 15 L for a travel trailer, 15 to 19 L for a fifth wheel, and 19 to 26 L for a toy hauler or large motorhome.
- A water heater bypass kit, if not already factory installed.
- A pump suction hose (or a siphoning kit that connects to the pump inlet).
- A blowout plug adapter + an air compressor, if you choose the air method.
- A 1 1/16 in. socket wrench for the water heater anode rod or drain plug.
- Teflon tape, stainless steel wool, roof sealant, moisture absorbers, fuel stabilizer.
If you only do one thing right this fall, make sure it's this one.
3>1.1 Drain EverythingEmpty the fresh water tank using its drain valve. Open the low-point drains (usually under the RV, near the water heater) — there are typically two, one for hot water and one for cold water. Then open all faucets, hot and cold, including the ones easily forgotten: the outdoor shower, the bathroom sink, the outdoor kitchen faucet, and the black tank flush sprayer.
3>1.2 The Water Heater: Two Steps, in the Right OrderWait until it is cold and pressure is released, then remove the drain plug or anode rod and let the tank empty completely. Take this opportunity to inspect the anode rod: if it is more than 75% corroded, replace it — it costs much less than a new tank.
Next, and only then, turn the bypass valve to the "winterize" position. This valve prevents antifreeze from filling the 22 to 40 liters of the water heater — which would waste half of your jugs for nothing.
⚠️ Tankless Water Heater: the procedure is different and specific to each brand. Follow the manufacturer's manual — several models have specific winterization ports and will be ruined if treated like a conventional water heater.
3>1.3 Clearing Residual Water: Compressed Air or Not?Draining isn't enough: water always remains in elbows, low spots, and valve bodies. Two schools of thought:
- Compressed air. You connect a blowout adapter to the city water inlet and blow air, faucet by faucet, until only air comes out. Never exceed the pressure recommended by your manufacturer — most manuals set the limit around 40 to 50 psi, even though some shops go up to 60–80 psi. When in doubt, stay low: excessive pressure can pop fittings that you won't see until spring.
- Antifreeze alone. Perfectly valid, and it is the safest method for beginners. You just use more antifreeze.
The pro method: both. Blow compressed air first to remove the bulk, then run antifreeze through for everything that remains.
3>1.4 Antifreeze in the LinesClose the low-point drains and the fresh water tank valve. Connect the pump suction hose into a jug of antifreeze (or use the siphoning kit). Turn on the pump.
Then, one faucet at a time, working from closest to farthest from the pump: open the cold side until pure pink flows out, close it, then do the hot side. Repeat for:
- the kitchen sink (hot and cold)
- the bathroom sink (hot and cold)
- the shower and shower sprayer (hot and cold)
- the toilet
- the outdoor shower — the most forgotten one
- the outdoor kitchen, dishwasher, and washing machine if equipped
Don't forget the city water connection: push the small check valve stem in with a screwdriver until antifreeze flows out.
⚠️ Ice Maker: never pressurize its line with air, or you will burst the valve. Turn off the water supply, disconnect the line, and let it drain into a cloth.
3>1.5 P-Traps and Holding TanksPour ½ to 1 cup of antifreeze down each drain (kitchen sink, bathroom sink, shower) to protect the P-traps. Then pour a few cups into the toilet (black tank) and down a drain (grey tank): this protects the dump valve seals, which are expensive and painful to replace.
A quick workshop tip: after pouring, rock the RV slightly (drive it forward and back a meter) so the antifreeze covers the entire surface of the seals.
2>Step 2 — Waste Water TanksDrain the black tank first, then the grey tank (the soapy water helps rinse the hose). Flush the black tank until the water runs clear. An improperly drained tank that freezes guarantees a crack — and a repair that often requires removing the floor.
2>Step 3 — Batteries3>Lead-Acid Batteries (Flooded, AGM, Gel)A discharged lead-acid battery will freeze, and a frozen battery is dead. Charge it to 100%, disconnect it (or shut off the disconnect switch to eliminate parasite loads), remove it if possible, and store it in a cool, dry, frost-free location on a wooden board. Recharge it every 4 to 6 weeks or connect a smart trickle charger.Lithium Batteries (LiFePO4)
The rules are different, and this is where many people make mistakes:
- Never charge a lithium battery when its cell temperatures are below 0 °C — it causes permanent chemical damage. The BMS normally blocks charging, but don't bet on it.
- Store it at a charge level between 50% and 100% (aim for the higher end of the range for long storage: it loses about 2 to 3% per month).
- Disconnect everything: main battery disconnect switch, charger, and especially solar panels — otherwise the February sun will attempt to charge a frozen battery.
- Disable the self-heating feature if your model has one to avoid parasitic draw.
- Many manufacturers tolerate storage down to −20 °C and below, but if you can bring it indoors, bring it indoors.
Close the tank valves. Check if your insurance provider or storage facility requires removing them — many do. If you remove them, cap the outlets and store them upright, outdoors or in an unheated, ventilated shelter — never in a basement or attached garage. Protect the regulators from snow and ice with a cover.
2>Step 5 — Motorhomes, Generators, and FuelFor a motorhome (Class A, B, B+, or C):
- Change the oil and filter before storage, not in the spring: used oil is acidic and degrades the engine during six months of inactivity.
- Fill the gasoline or diesel tank completely and add fuel stabilizer, then run the engine for 10 to 15 minutes so it circulates all the way to the injectors. A full tank minimizes condensation.
- Check the freezing point of the engine coolant using a refractometer or antifreeze hydrometer.
- The Generator: same treatment — add stabilizer, then run it for 15 to 20 minutes under load (with the air conditioner or space heater turned on). A generator left sitting with untreated fuel in its carburetor means a trip to the mechanic in May.
- Inflate the tires to recommended pressure, move the RV a few feet if stored all winter long (to prevent flat spots), and cover them with UV protectors.
This is the step that everyone skimp on, and it's the most expensive one long-term: a water leak will ruin an RV faster than freezing weather.
- Wash the exterior and apply a coat of wax — dirt holds moisture.
- Inspect all caulking seams: roof perimeter, vents, antenna, air conditioner, moldings, windows, doors, storage compartments. Any crack, even hairline, should be covered with a sealant compatible with your roof type (EPDM, TPO, or fiberglass — they use different products).
- Retract and clean the awning, making sure it is completely dry. Rolling up a wet awning guarantees mold and mildew.
- Retract the slide-outs, clean and lubricate the rubber seals with a silicone-based product or rubber conditioner.
- Cover exhaust outlets and exterior vents with fine wire mesh — without ever blocking refrigerator or furnace ventilation. Step 7 — Interior
- Remove all food, including canned goods (they freeze and burst) and liquids.
- Empty, clean, and leave the refrigerator and freezer doors propped open, with an odor absorber inside.
- Open cabinet and closet doors to let air circulate freely.
- Place moisture absorbers (calcium chloride) in each area: condensation is enemy number one in an RV sealed for six months.
- Stand cushions on edge, remove bedding and towels, or bring them inside your home.
- Close blinds and curtains to protect fabrics from sun damage.
- Remove everything sensitive to freezing: liquids, cleaning products, paints, cosmetics, medications, water fire extinguishers.
- Remove valuable electronics and keep photos of the interior for insurance records.
- Seal physically. It is the only method that truly works: stainless steel wool or fine wire mesh in every passage for wire, pipe, or cable beneath the chassis and around utility connections.
- Zero food, zero crumbs. Vacuum everywhere, including under benches.
- Set a few classic snap traps and check them if you visit the RV over the winter.
- Regarding mothballs: they are still widely recommended, but naphthalene releases toxic fumes in an enclosed space and its effectiveness against rodents is unproven. Dryer sheets and peppermint are also mostly anecdotal. They may complement physical sealing — but never replace it.
- Under cover is best — provided it is a ventilated shelter. An RV wrapped airtight will rot from the inside.
- If you use a cover, choose a breathable cover designed specifically for RVs. A cheap blue tarp traps moisture, and friction from wind will ruin the finish.
- Park on asphalt, concrete, or compacted gravel, never on grass or bare soil (moisture rises).
- Level the RV and place leveling blocks under the tires. Do not rest stabilizer jacks directly on unfrozen ground: freezing and thawing will shift them and can twist the frame.
- Turn off the main battery switch, leave the parking brake disengaged on a motorhome (cables can freeze shut), and wheel-chock the tires.
- Clear snow off the roof using a broom, never a shovel — shovels tear the membrane. Clear it off when accumulation reaches about 30 cm (12 in.): wet snow weight can deform the structure.
- Keep your insurance policy active. Storage does not protect against theft, vandalism, or a falling tree limb. 10 Most Expensive Mistakes
- Reinstall the charged battery and reconnect propane tanks (perform a leak test using soapy water).
- Turn the water heater bypass valve back to normal operation and reinstall the anode rod using Teflon tape.
- Close low-point drains, fill the fresh water tank, and run water through the system until it flows clear.
- Sanitize the system using diluted bleach, then flush thoroughly with fresh water.
- Pressurize the system and inspect every fitting for several minutes to check for leaks.
- Check tire pressure and wear (including tire age), inspect roof seals, and test every appliance one by one.
- Replace batteries in smoke, carbon monoxide, and propane detectors. Frequently Asked Questions3>Can I winterize using only compressed air, without antifreeze?
- RV Winterizing and Winter Storage — CAA-Québec
- RV Winterization Guide: Step-by-Step Process from the Pros — etrailer
- Winterize Your RV the Right Way — Keystone RV
- How to Store Lithium RV Batteries for Winter — The RV Geeks
- Common RV Winterizing Mistakes to Avoid — Camper FAQs
- 6-Step RV Winterization — Prêts pour la route
A mouse can squeeze through a 6 mm (1/4 in.) hole. Once inside, it will chew wiring, nest in furnace insulation, and leave an odor that never completely disappears.
| MistakeWhat It Costs | |
| Using engine antifreeze instead of RV antifreeze | Contaminated fresh water system, toxic chemical — complete flushing required |
| Forgetting to put the water heater in bypass | 15 to 20 L of antifreeze wasted and a tank requiring lengthy flushing |
| Forgetting the outdoor shower | Split line, discovered in June |
| Failing to protect the P-traps | Cracked traps under the sinks |
| Leaving the battery connected and discharged | Frozen, dead battery that must be replaced |
| Charging a lithium battery below 0 °C | Permanent damage to cells |
| Skipping roof seal inspection | Water leaks, rotted plywood, major structural repair |
| Storing the awning wet | Mold, mildew, and permanent stains on fabric |
| Using a non-breathable waterproof tarp | Condensation buildup, mold, damaged finish |
| Shoveling the roof | Punctured membrane — the worst kind of water leak |
At a service shop, full winterization typically costs between $150 and $350 depending on the vehicle type and included services. Doing it yourself costs only a few dozen dollars a year in consumables once basic tools are purchased.
The real question isn't the price, it's consistency: a shop follows a checklist and doesn't skip steps. If you do it yourself, print a checklist and check off each box. That's precisely what makes the difference between a pristine ten-year-old RV and a five-year-old RV that smells like mildew.What If I Want to Camp in Winter?
Winterizing isn't the only option. A true four-season RV — featuring an enclosed and heated underbelly, insulated tanks with heating pads, dual-pane windows, and upgraded insulation — can be used all winter long. You will need to install a winter skirt around the perimeter, use a heated water hose, carefully manage condensation and ventilation, and burn significantly more propane than you might expect.
What you shouldn't do: attempt to spend the winter in a three-season RV hoping it will handle it. It won't.De-Winterizing in Spring
It is possible and it's what several shops do, but it requires extreme thoroughness: any low spot holding water will crack. In climates regularly dropping below −25 °C, combining compressed air then running antifreeze remains the safest choice. Even when blowing out the lines, always pour antifreeze into P-traps and holding tanks.How long does it take?
Two to three hours the first time, an hour and a half afterwards. Plan to do it during mild weather, above freezing — working with frozen hands causes people to skip steps.Is RV antifreeze dangerous?
Pink RV antifreeze is propylene glycol-based and non-toxic at standard concentrations — which is why it's used in potable water systems. Engine antifreeze (green or orange) is ethylene glycol-based and toxic: it should never be used in an RV water system.Do I need to drain the fresh water tank completely?
Yes, completely. Keep in mind that drain valves often leave a small amount of residual water at the bottom: that's why we blow out lines or push antifreeze afterward.Do I have to remove the propane tanks?
Not strictly mandatory, but many insurance policies and storage facilities require it. Check your conditions. At a minimum, close all valves and cover the regulators.Can I leave the RV plugged into 120 V power all winter?
Only if your converter/charger is a multi-stage smart charger, and provided you monitor electrolyte levels on conventional lead-acid batteries. Otherwise, disconnect and recharge periodically.A Final Word
Winterization is three hours in the fall that buy six months of peace of mind. It's also what keeps a well-maintained RV running for twenty years with high resale value, while another of the same age smells damp and loses half its value.
Take the list, check every box, and trust the process. See you on the road in the spring.
Already preparing for next season? Find maps for dump stations, RV rest stops, boondocking spots, and local municipal regulations directly on each location page at 123Go.Quebec.Sources and References
This article outlines generally recommended best practices. The manufacturer's manual for your specific vehicle and appliances always takes precedence. When in doubt about any procedure, consult a certified service center.